You can decorate a digital planner in many ways such as making your own digital stickers, using tools on your note taking app, adding bought stickers or elements to add to a plain planner.
Decorate a digital planner – Introduction
Honestly this is probably a subject that deserves about 10 different blog posts because there are so many digital planner decoration options.
So this blog post is going to have to be a little bit of a ‘getting started’ kinda post, and afterwards maybe I will get to writing a lot more in-depth articles about a lot of the things talked about here.
What you can add to your digital planner?
So I am starting here because this is one of the basic questions when it comes to personalizing a digital planner.
Did you know you can decorate your digital planner as you are designing the pages?
So right from the start of making a digital planner you can decorate it. This can be done by using the same things that I talk about below but adding them to the pages before you export them as pdfs – which is what you make your planner with.
But let’s say you already have a digital planner – but it’s plain and boring. How do you decorate it?
Pen and Highlighter tool
Pen tool
These are digital planner accessories that are usually available as part of the note taking app you use for a digital planner.
In other words, they are already there and ready to use on your planner.
Different apps will have different options but play around with a spare notebook first just to get some ideas and feel comfortable using them.
An example I recently learned of decorating with the pen tool in GoodNotes was:
- Make sure under the shapes menu ‘fill color’ is turned on.
- Draw a rough square, but at the end hold the pen down on the screen for a second longer and it will snap into a perfect square.
- Then click on the back button at the top – this gets rid of the outline.
- You can then use the lasso tool on the shape and click on resize.
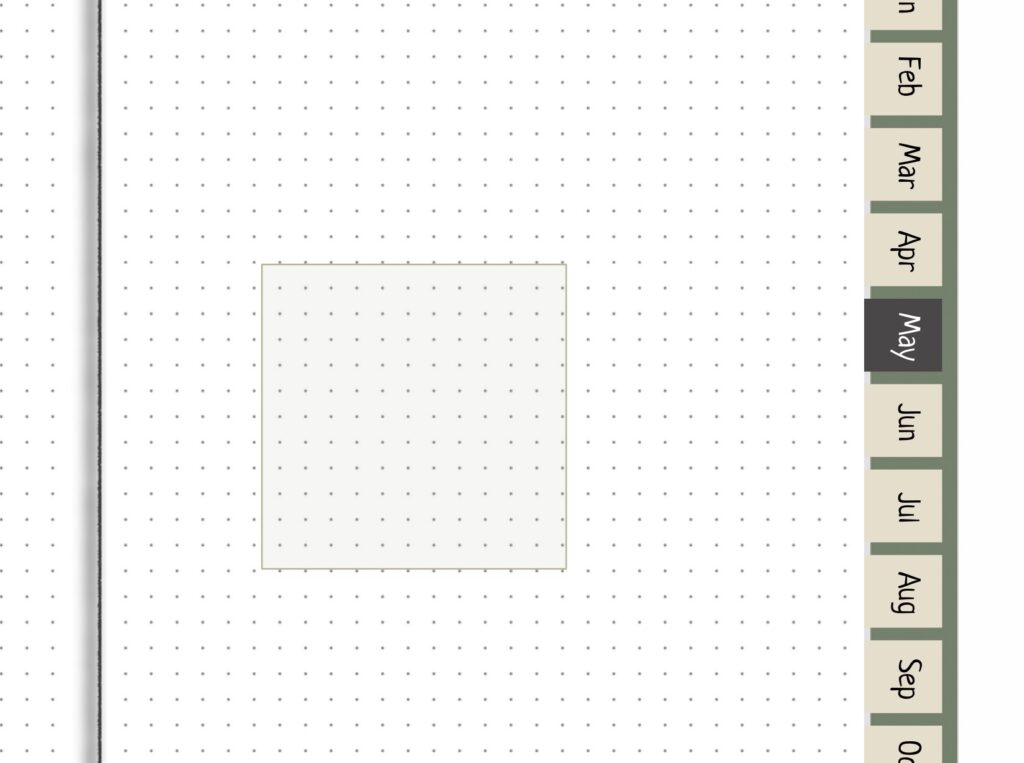

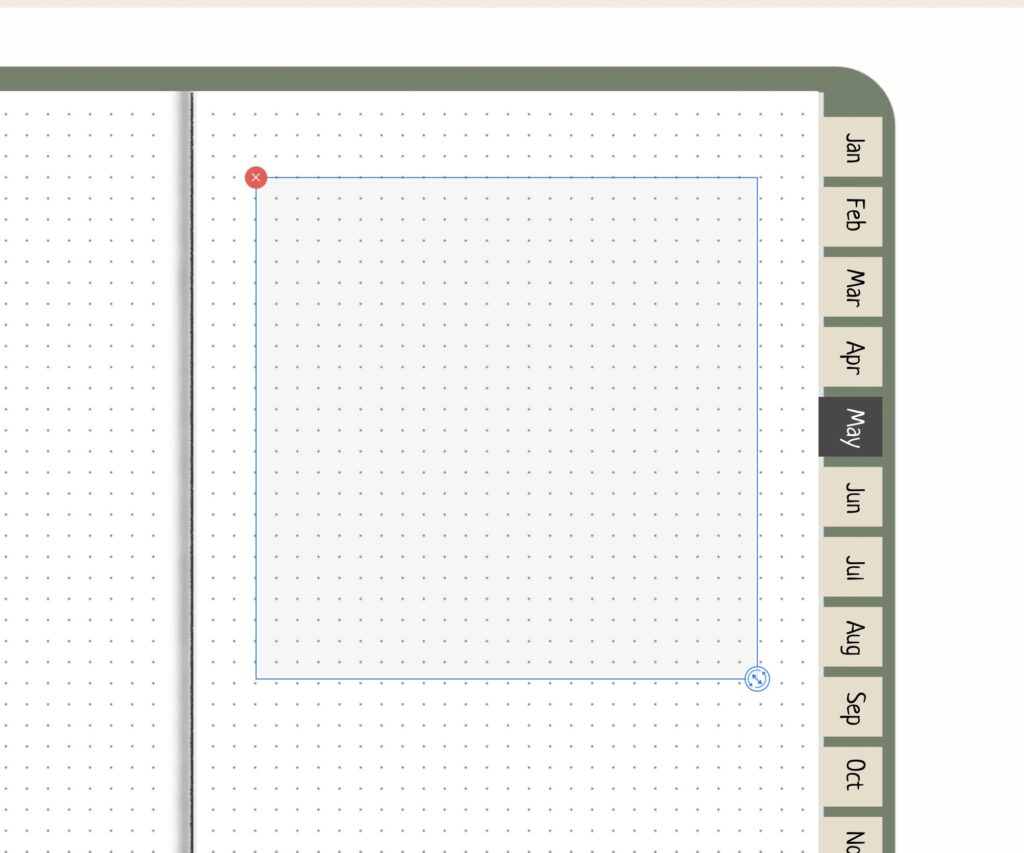
This gives a fantastic idea for turning the boxes on your planner into colored boxes.
Watch the video with this and many other ideas here.
Don’t forget another option is to use the pen tool to hand draw doodles with your pen tool – giving a very hand created feel.
Highlighter tool
I use the highlighter tool all the time for decorating my planner.
Quite often I will have the text default as a black color because I don’t want to change it all the time.
I will then go in and use my highlighter with my chosen colors for that months theme and – voila! My page looks color coded and cohesive.
Digital planner stickers
Make Your Own
You can make digital planner stickers quite easily. All you need is png files that can be added to you planner as stickers.
This means you can make your own stickers in programs like Canva.
Or you can draw and make your own on apps like Procreate.
Just export them as png’s and you can import them to your note taking app and add them to your planner.
Get Free Stickers
If you want digital stickers already done for you but you don’t want to spend money on them there are options..
- Use the internet to find images you like. On an IPad Pro you can tap and hold on an image and literally lift it over onto your planner – how cool is that! If you don’t have that option, find a way to save or download the image you found and there you have your png that can be added to your planner.
- Search for free stickers. There are many places – such as here – that do free digital stickers that you can download and use for your own planner. You do need to subscribe, but it’s all free.
Paid Stickers
There are many people doing digital sticker packs on Etsy or on other websites. If fact a good place to start is where you bought your digital planner. If you bought a digital planner, it’s possible that they do more digital planning products such as stickers that might specifically go with your digital planner.
Other digital planner decoration tips
It is very important to get the design you are looking for. If you want to learn about planner design you can read:
You can also use various fonts that are beautiful and go nicely with your aesthetic that you can download onto your device and you can create different looks with that.
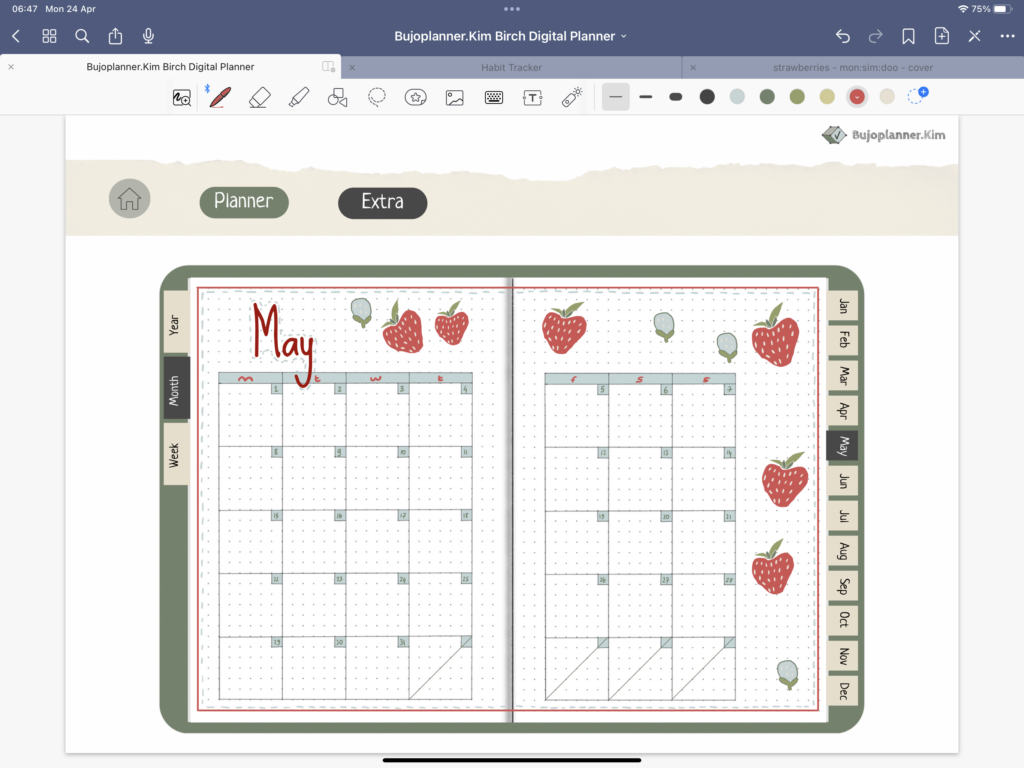
Another tip to decorate a digital planner is to add borders to your digital page. You could also create these borders as digital planner stickers.
I personally do this now with all my planner pages I like the look. Here is an example for this month:
Conclusion
I hope you got some inspiration for decorating your digital planner. It can be a learning curve to get it right, but it is possible to get a really beautiful digital planner that is personal to you.
I would love to see any creations you make. Please do share them. Or in fact, if you have any tips you want to share please add them to the comments below.
Thanks so much for being here,

beginner budget friendly bujo bujo tips bullet journals Bullet journal spreads bullet journal style Bullet journal supplies choice choosing planners community Components creativity decisions decoration design digital planners diy planner doodles eco goals layout ideas making a planner markers monthly spreads motivation notebooks pens personalization Planner alternatives planner covers planner customization planner decoration planner inspiration planners planner types premade printables routines simple and easy starting out supplies switching tips using planners
YOU MIGHT ALSO LIKE..
