Table of Contents
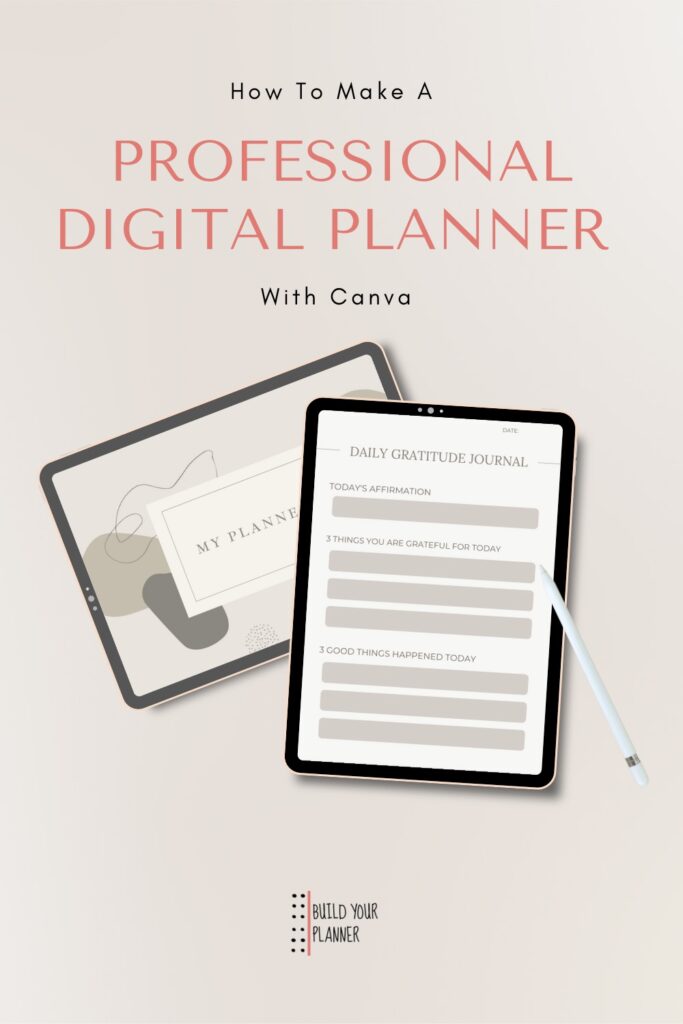
Make a canva digital planner – Introduction
Many people wonder ‘Can I make a digital planner on Canva and sell it?’
The answer is yes. So here is a guide to creating a professional looking Canva planner – and some tips and tricks I learned along the way.
It is a great idea to do the research befor you start. I wish I knew quite a few things before I started, so this is the kind of guide I wish I had.
I hope you find it helpful too.
Get the right size
If you want to make a professional planner, it’s important to consider sizing.
People aren’t going to want to download something that will take up all their available storage on their device.
So what is the right canvas size for making a digital planner?
The answer depends on your device and your chosen note taking app for using the planner.
For example GoodNotes says that it’s standard size in landscape mode is: 650.88 X 406.8 px. It says this is a ratio of 16:10. There is also a note that says that GoodNotes standard is made for IPad screens specifically.
How do you find the best size for your device and app?
It can be a little bit trial and error. You should be able to look on your device settings and get the screen size. Then you want to try to make a few pages in that size – put them on your app of choice and try them. Does it work as you want when you zoom in and use the various tools?
If is a planner that you will sell, try to have in mind what will be most popular for your target audience.
For example, if you want to know how to make a digital planner on Canva for GoodNotes, keep exporting your design and trying it out on GoodNotes to know you will end up with the right planner in the end.
On Canva create digital planner steps
Step 1.
Once you get your canvas in your desired size – start making the back ground look of your planner.
MY SUGGESTION:
I suggest you create the background look that you are going for in Canva or another app like Procreate and have that as an image file.
This means that the background of your planner is one image per page rather than many elements [shapes, images and graphics] – this makes a huge difference in Canva.
Canva only allows a limited number of pages per design, and the more elements you add, the less pages you get.
So rather than making a lovely design with many elements and duplicating the page many times – instead, export the image, then upload it and add it to your design and just have that duplicated.
Step 2.
Once you have your background sorted – you will want to make the design of each planner page.
Again – I do that over on Procreate and upload the images or files to canva and add them on.
Again – remember the same point as step 1 – the more elements you include on each page of your design -the less pages you have in total.
Complete all the pages that you want for your planner.
Step 3.
I now start adding the hyperlinks.
I find that if I do it at the same time as adding the pages, there is a possibility I might change my mind and want to re-order the pages. This makes the hyperlink process much harder – so get the pages of your planner right first.
How to add hyperlinks in Canva?
To add hyperlinks you need to make a shape or have an element that you can select. Once you have selected the element click on the 3 dots [more] that comes up at the side of the delete button.
Click on ‘Link’, click on the box for typing and immediately a list will come up. The pages of your design will be listed there and you can choose the one you want to link the element to.
You can also do it by bringing up the layers list and choosing the element you want and adding the link there.
Make it look professional
This post is – how to make a digital planner – but it is also – how to make a professional digital planner!
So how do you make your planner look it’s very finest?
Well, I’m not a huge expert in this, but can you believe our good friends at Canva have already provided a great article – How to make your designs look more professional
So I highly suggest looking through that article to figure out the style you want to create.
Or you might like:
Some FAQs
HOW DO I CREATE A DIGITAL PLANNER COVER IN CANVA?
Good question! You need to add a page at the start and end. Think about what you ‘open’ planner look is and imagine what that would look like ‘closed’.
Then add text or images based on your preference.
CAN I SELL A DIGITAL PLANNER I MADE ON CANVA ON ETSY?
Yes, indeed you can. You are free to sell your canva designs, even if you have used their templates, so long as you have altered them in some way – like changed the text or colors, etc.
CAN I MAKE A DIGITAL BOOK WITH CANVA?
Yes, you can. Since you can export your design as PDF files, you can keep adding pages and writing your book and export the whole thing.
I personally have only made one e-book using canva but there are others who have a lot more experience.
Conclusion
When making a diy digital planner it is extremely important to be patient with the learning process. It is unlikely you will get everything perfect first time.
Do you have any other questions about making a professional digital planner? Please don’t hesitate to put them in the comments below, I will answer as best I can.
Thanks so much for being here. I wish you well and appreciate you being here.
beginner budget friendly bujo bujo tips bullet journals Bullet journal spreads bullet journal style Bullet journal supplies choice choosing planners community Components creativity decisions decoration design digital planners diy planner doodles eco goals layout ideas making a planner markers monthly spreads motivation notebooks pens personalization Planner alternatives planner covers planner customization planner decoration planner inspiration planners planner types premade printables routines simple and easy starting out supplies switching tips using planners
YOU MIGHT ALSO LIKE..
- The Ultimate Guide: What to Include In a Bullet Journal for Beginners
- Bullet Journal Terms: Your Jargon-Busting Guide

- A Comprehensive Guide to Budget and Eco Friendly Bullet Journal Supplies
- These Must See Bullet Journal Pens and Markers are Perfect for Beginners
- The Search is Over: Finding the Best Bullet Journal Notebook

- Build the Perfect Bujo with these Bullet Journal Supplies for Beginners