To make an eco friendly planner you need to:
- Understand why you are making an eco friendly planner
- Find the right sustainable materials that you need
- Learn the process of making different elements of the planner
- Customize your planner for YOUR preferences
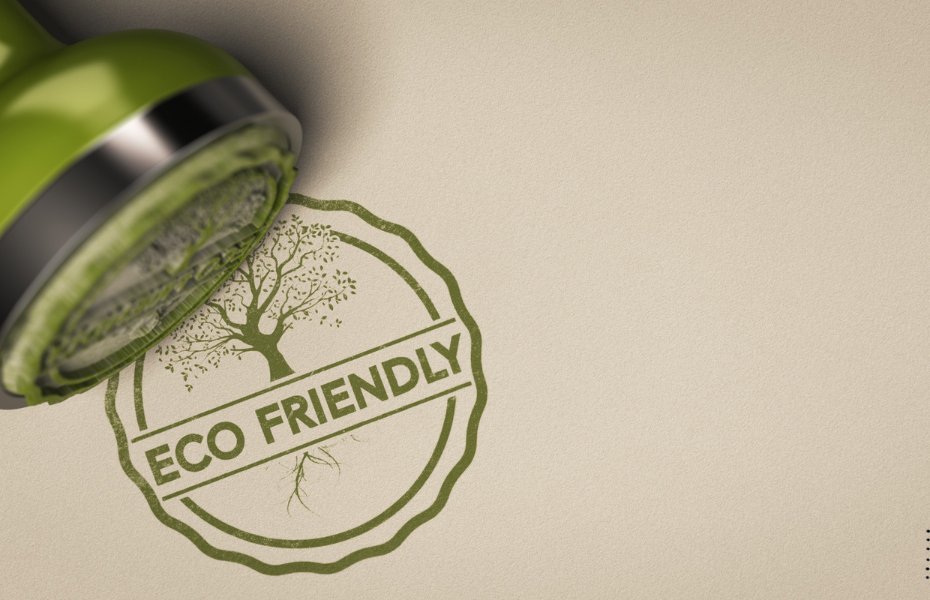
Why make an eco friendly planner?
Just recently I had the opportunity to do some research about waste. I live in Ireland, which is a small country. I discovered that in 2020 we had a population of nearly 5 million, and we recycled 450,000 tonnes of paper and card.
That figure, of course, does not include the full figure. Because how much paper and card was not recycled. Needless to say we use a lot of paper.
So the point of making your own eco friendly planner is:
You will make only the pages you need, and you can choose materials that will not add more harm to our environment.
What is a discbound system?
A discbound system is a very handy and easy way to bind pages together. As you can see in the photo, they look like discs.
![A picture of a discbound planner on a table with a pen and watch. Part of an article - sustainable planning: create an eco - friendly planner [discbound]](https://buildyourplanner.com/wp-content/uploads/2023/04/Eco-friendly-planner-discbound-300x300.png)
What really is wonderful about a discbound planner is that you can easily move pages around, add pages in, and take pages out.
If you have been bullet journaling before, you will know this is a fantastic feature that you just can’t get with standard bullet journal notebooks.
It is very customizable, you can use as many rings as you want along the spine.
The eco materials you will need..
Here is a list of some basic things you will need to make a eco friendly discbound planner:
- Eco friendly discs
- A mushroom hole punch
- Recycled plastic file folder or eco friendly laminator pouches & a laminator
- Eco friendly glues and inks
- Preferably a printer, but not necessary
- Recycled paper and card, at least for the cover
Let’s now figure out what to do with all these products.
Making the planner
Step 1.
The first step is to make your cover.
There are many ways to do this, such as printing out a pretty page and laminating it. But I will tell you what I do, which gives it a more solid notebook feel.
I cut some hard board card to A5 size. Then I get the paper that I want as my cover and cut that so it is A5 and with an extra rim all around of about 4cm.
I glue the board and stick it to the paper.
Then I glue the edges of the paper rim and fold these over to the back of the card.
Now, I cut my recycled plastic file holder cover, or laminated page so that it is A5 on 3 sides. On one of the long sides you want about 1 cm extra rim.
Let’s be specific, I would cut it so it’s 16cm x 21cm.
Now use your hole puncher and put the holes down the long side of the plastic.
Then I glue the plastic to the back of the board. Remember fit it exactly to the board on 3 sides and have the rim with the punched holes on one of the long sides. This makes your spine.
Of course, you now have to do the exact same thing again, because you want both a front and a back.
![A discbound planner with clouds dawn on the cover. The title says. - create your own eco friendly planner [discbound]](https://buildyourplanner.com/wp-content/uploads/2023/04/Create-your-own-eco-friendly-planner-discbound-1-200x300.png)
Step 2.
Now add your covers on to the rings. You now have the bones of your eco friendly planner and all you have to do is fill it.
For making your planner pages there are many options.
You can make your own using a program like Canva. You could buy them. But remember whatever you make or buy has to fit your A5 size, or whatever size you have made your planner.
You can also print or buy plain dot grid paper and make your discbound planner like a blank bullet journal, that you then create your planner with pens and markers.
Also I should mention here that if you don’t have a printer, don’t worry, do your research. Even in little old Ireland there are printer shops that will print using recycled paper, so that might be an option for you too.
Step 3.
Once you have decided how to fill the planner, the last step is to use the hole punch again and add in all your pages to your new discbound planner.
You can add divider tabs if you want and create and decorate to your heart’s content. I haven’t done it yet but I might add a metal pen holder to the front cover at some point. I’ll look into the options.
Summary
In summary, making a discbound bullet journal planner is an awesome thing to do. I fully recommend it.
I have loved using mine and think it’s a beautiful eco friendly option.
Why not check what is coming soon here on ‘Build Your Planner’.
If you have created an eco friendly planner for yourself, please do tell me in the comments, what you did. I would love to hear. Thanks for being here today.

beginner budget friendly bujo bujo tips bullet journals Bullet journal spreads bullet journal style Bullet journal supplies choice choosing planners community Components creativity decisions decoration design digital planners diy planner doodles eco goals layout ideas making a planner markers monthly spreads motivation notebooks pens personalization Planner alternatives planner covers planner customization planner decoration planner inspiration planners planner types premade printables routines simple and easy starting out supplies switching tips using planners
YOU MIGHT ALSO LIKE..
- The Ultimate Guide: What to Include In a Bullet Journal for Beginners
- Bullet Journal Terms: Your Jargon-Busting Guide

- A Comprehensive Guide to Budget and Eco Friendly Bullet Journal Supplies
- These Must See Bullet Journal Pens and Markers are Perfect for Beginners
- The Search is Over: Finding the Best Bullet Journal Notebook

- Build the Perfect Bujo with these Bullet Journal Supplies for Beginners